Being a creative person often means having a lot of supplies on hand. These can be anything from paintbrushes to fabric scraps to pieces of wood. If you’re not careful, your creative supplies can quickly turn into a cluttered mess.
But don’t worry! There are plenty of ways to organize your
craft supplies so that you can find what you need when you need it. In this
article, we’ll explore five creative ways to organize your craft supplies. By
the time you’re finished reading, you’ll have plenty of ideas to help you get
your crafting space organized and tidy!
Here is a quick overview of the five ways to organize your
craft supplies:
1. Hang craft tools, fabrics, and ribbons on hooks and
frames.
2. Build a supply cabinet with durable, adjustable drawers
customized to store crafting supplies.
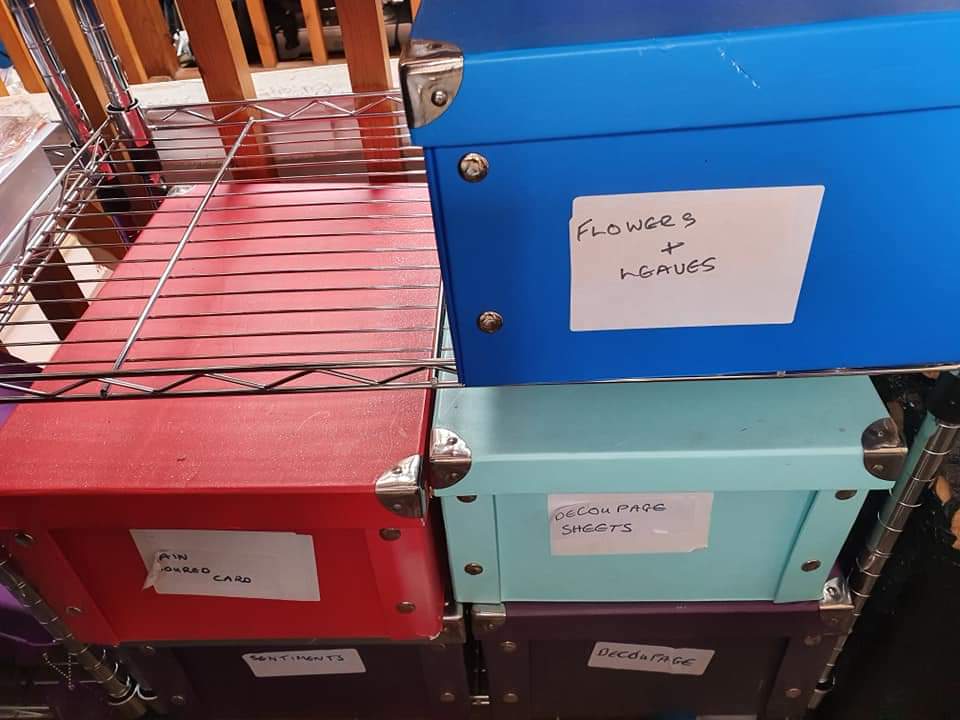
3. Utilize storage containers, drawers, and racks.
4. Group supplies according to item type and color.
5. Implement a digital filing system to maintain digital
assets.

These creative solutions will help you keep your craft
supplies neat, tidy and organized. Taking the time to properly sort and store
supplies may seem tedious, but it will pay off in the long run—saving you time
and energy when searching for items.
When organizing craft supplies, explore different ways to
use what you already have! Utilizing everyday items to store and organize your
supplies is a more cost-effective option.
A shoe rack can be the perfect tool for organizing ribbons
and fabrics. Or, use an old cheese grater to store small items like beads,
pins, and buttons. An old spice rack can store everything from paint tubes and
markers to cooking utensils. You can also utilize items like mason jars,
baskets, magazine holders, trays, and even egg cartons to store different
supplies.
Gettting creative with the items on hand is a great way to
keep supplies organized without spending too much money. Get creative, find
everyday items around the house, and work with whatever you have!
Once you have your craft supplies organized, don’t be afraid
to change things up in order to find what works best for you. Whether it’s
adding new containers, repurposing everyday objects to store supplies, or
reorganizing everything, think about what would help you use your supplies more
efficiently and effectively.
You don’t have to be afraid to try something different and
it often doesn’t require a lot of time and effort. Just rearrange some drawers
or rearrange your shelves, or even repaint or reorganize your craft room. The
options for tweaking the organization of your craft supplies are seemingly
endless.
In the end, it’s your own preference and what works best for
you. Whether you like your supplies organized together or stored separately,
the goal is to make sure they are organized, so they can be used productively
and your projects can be completed quickly and efficiently.

Organizing your craft supplies will make all the difference
when it comes to finding the supplies needed for a project. You can take
advantage of this newfound way of organizing and store your supplies even more
effectively. However, the challenge remains when it comes to making sure that
the supplies can be easily found when needed and your readers are able to
access the resources they need.
Fortunately, with a few creative solutions, you can easily
let your readers know where they can find more useful resources and materials.
So, wrap up your blog post with a short mention of where they can look. For
instance, you could include pages and links to external sources, stores, and
manufacturers that offer useful information such as tutorials, troubleshooting
tips, and product brochures.

With this effort, you will be able to ensure that your readers have easy access to all the possible information they need to start organizing their craft supplies
Comments
Post a Comment